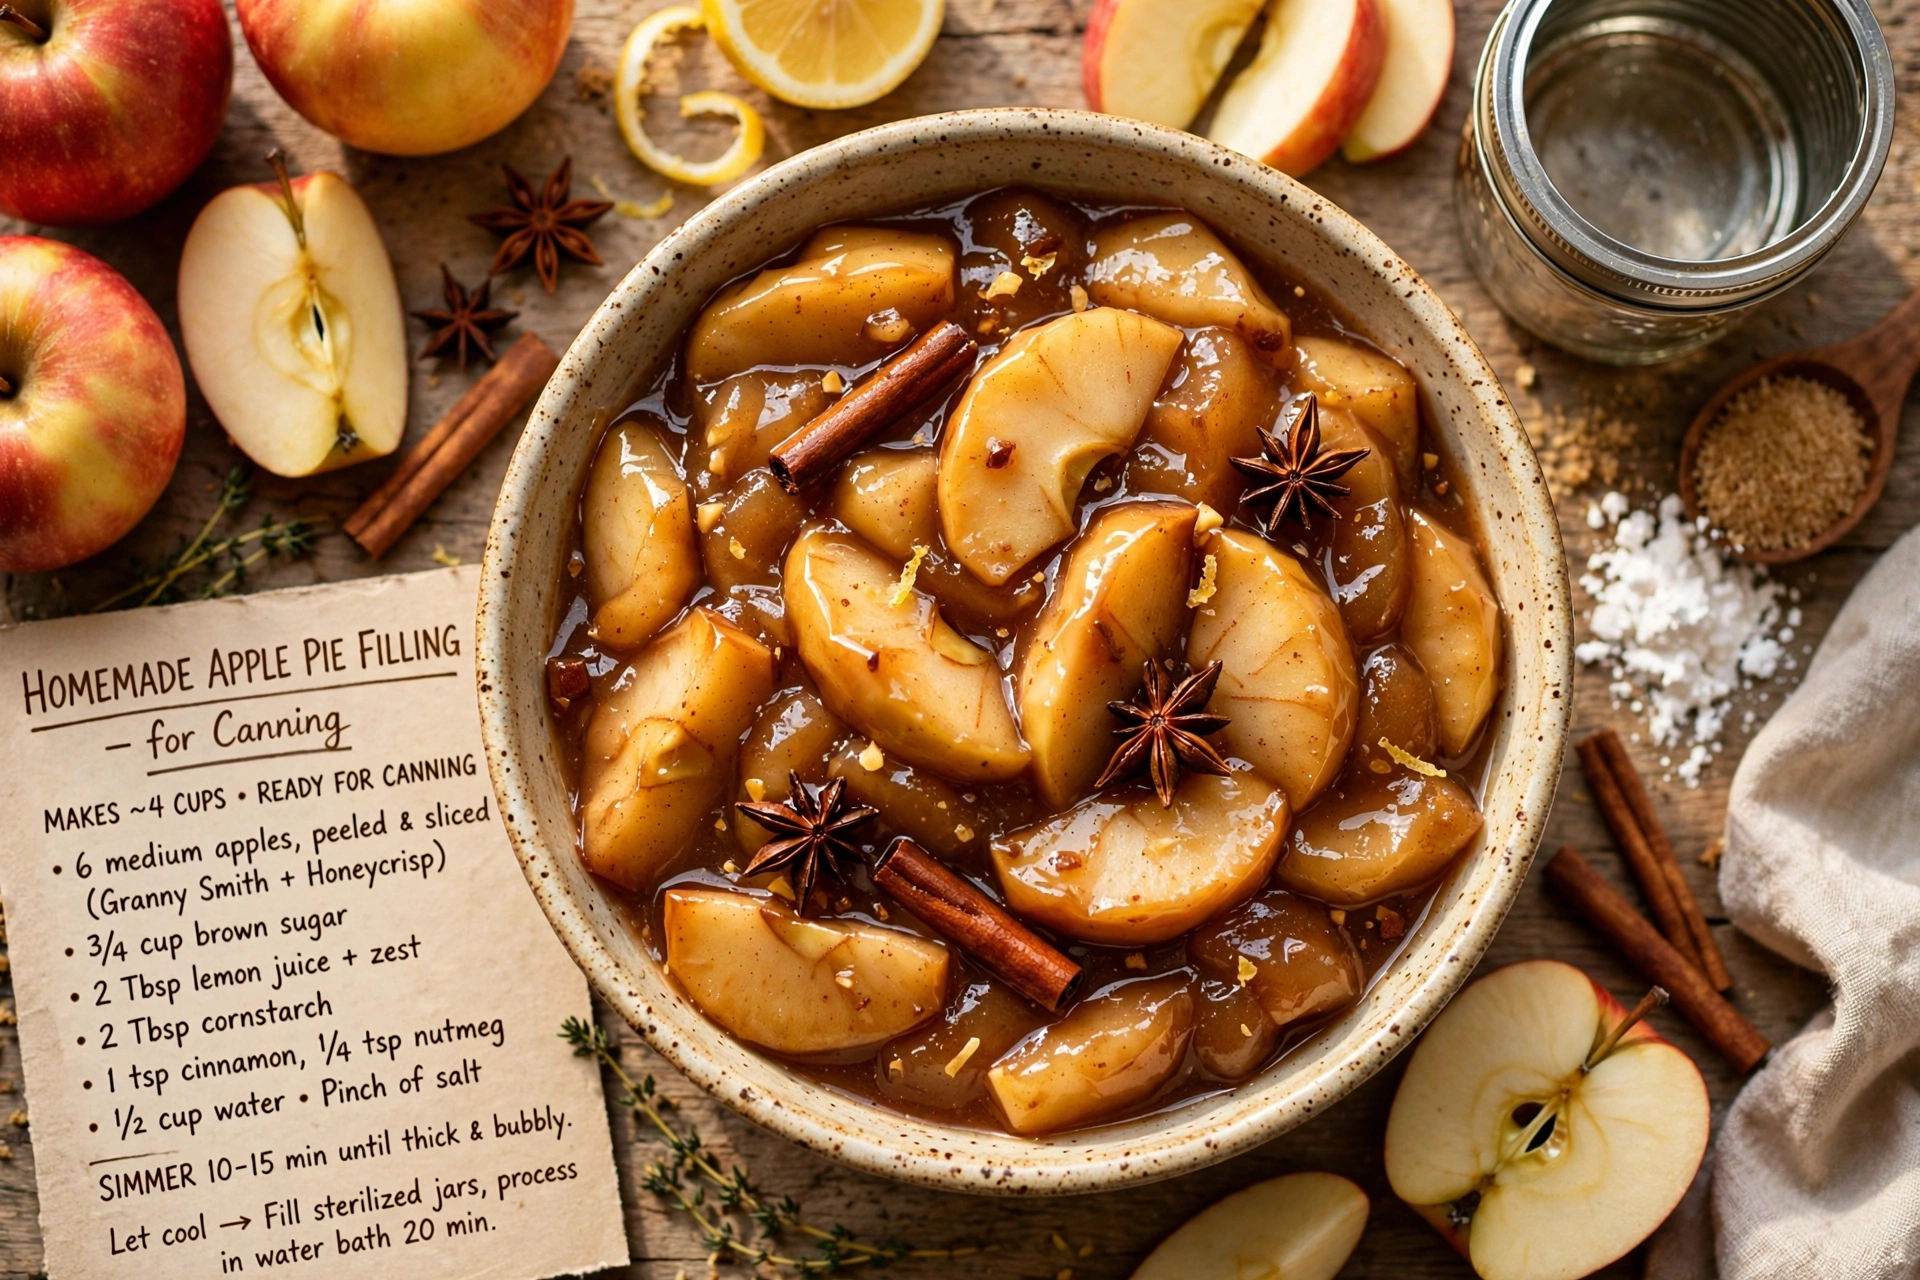
Homemade Apple Pie Filling for Canning
Learn how to make and can apple pie filling at home with this easy, small-batch recipe, so you can pull a jar off the shelf and have a warm apple pie ready any time of year.

Why You Need Apple Pie Filling To Can In Your Pantry
There is nothing quite like opening your pantry in the middle of January and pulling out a jar of homemade apple pie filling that you put up yourself back in September. This recipe for canning apples for pie filling turns a big bag of fresh apples into six or seven jars of glossy, cinnamon-spiced filling that is ready to become a pie, a crumble, or a topping for pancakes whenever the craving hits.
If you have been searching for how to make apple pie filling to can, you are in the right place. This method is beginner friendly, uses ingredients you likely already have, and walks you through every step of safely canning apple pie filling so your jars seal properly and store well.
Before we get cooking, the right tools and ingredients make a real difference here. A reliable water bath canner, a jar lifter, and accurate measuring cups are what separate a frustrating afternoon from a smooth one, and using bottled lemon juice instead of fresh keeps the acidity consistent and safe for canning. These are the products that genuinely help this recipe shine:
Choosing And Prepping Your Apples
The best apples for canning apple pie filling are firm varieties that hold their shape under heat, like Granny Smith, Honeycrisp, or Braeburn. Softer apples like McIntosh tend to turn mushy during processing, so they are better saved for applesauce.
- Peel and core the apples completely.
- Slice them into even, half-inch wedges so they cook at the same rate.
- Keep sliced apples in acidulated water (water with a splash of lemon juice) while you work, so they do not brown before they hit the pot.
Chef's Tip: Do not skip the bottled lemon juice in the syrup itself. It is not just for flavor, it helps standardize the acidity of the jars, which is essential for safe water bath canning.
Why Cornstarch (Or Clear Jel) Matters
A lot of canned apple pie filling recipes for canning call for a thickener, and this is one place where you really cannot improvise. Some home cooks ask about canning apple pie filling no Clear Jel, and the good news is that cornstarch works fine for this recipe as long as you follow the exact quantities listed. Clear Jel is simply a more heat stable option that some canners prefer for jars they plan to store longer than a few months, but either one will give you a filling that thickens beautifully once it is baked into a pie.
What you want to avoid is using flour or reducing the amount of thickener, since that can affect how heat penetrates the jar during processing.
The Canning Process, Step By Step
Once your syrup is made and your apples are folded in, the actual canning for apple pie filling comes down to a few careful steps: filling the jars with the right headspace, removing air bubbles, wiping the rims, and processing in a boiling water bath for the full time. Ready to make it? Here is the full step-by-step recipe:
Homemade Apple Pie Filling for Canning
Learn how to make and can apple pie filling at home with this easy, small-batch recipe, so you can pull a jar off the shelf and have a warm apple pie ready any time of year.
Ingredients
- 6 lb apples, peeled, cored, and sliced, such as Granny Smith or Honeycrisp
- 2 1/2 cups granulated sugar
- 3/4 cup cornstarch, for canning safety, see notes on Clear Jel substitution
- 1 tbsp ground cinnamon
- 1/2 tsp ground nutmeg
- 1/2 tsp salt
- 2 1/2 cups water
- 1/4 cup lemon juice, bottled, not fresh squeezed, for consistent acidity
Instruction
Wash 6 to 7 quart-sized canning jars, lids, and rings in hot soapy water, then keep jars warm in a simmering water bath canner until ready to fill.
Peel, core, and slice the apples into even, half-inch-thick wedges to ensure even cooking and canning.
Fill a large bowl with water and a splash of lemon juice, then place apple slices in the water as you work to prevent browning.
In a large pot, whisk together the sugar, cornstarch, cinnamon, nutmeg, and salt until no lumps remain.
Stir in the water and bottled lemon juice, then bring the mixture to a boil over medium-high heat, stirring constantly until it thickens into a glossy syrup, about 2 minutes.
Drain the apple slices and fold them into the hot syrup, stirring gently to coat every piece, then let the mixture return to a boil and cook for 1 minute more.
Ladle the hot apple pie filling into the warm jars, leaving 1 inch of headspace at the top of each jar.
Run a bubble remover or thin spatula around the inside of each jar to release trapped air, then wipe the rims clean with a damp cloth.
Center a lid on each jar and screw on the ring until fingertip tight, then lower the jars into the canner using a jar lifter.
Process the jars in a boiling water bath for 25 minutes, adjusting time for altitude if needed.
Turn off the heat, remove the canner lid, and let the jars sit in the water for 5 minutes before transferring them to a towel-lined counter to cool completely for 12 to 24 hours.
Check that all lids have sealed by pressing the center of each one, then label and store sealed jars in a cool, dark pantry.
Equipment
- Water bath canner
- Canning jars with lids and rings
- Jar lifter
- Large stockpot
- Ladle
- Bubble remover or spatula
- Peeler and paring knife
Notes
Serving, Storing, And Using Your Filling
Once your jars have cooled and sealed, store them in a cool, dark pantry or cupboard, away from direct sunlight and heat sources like the stove. A properly sealed jar of this canned apple pie filling will keep its quality for up to a year.
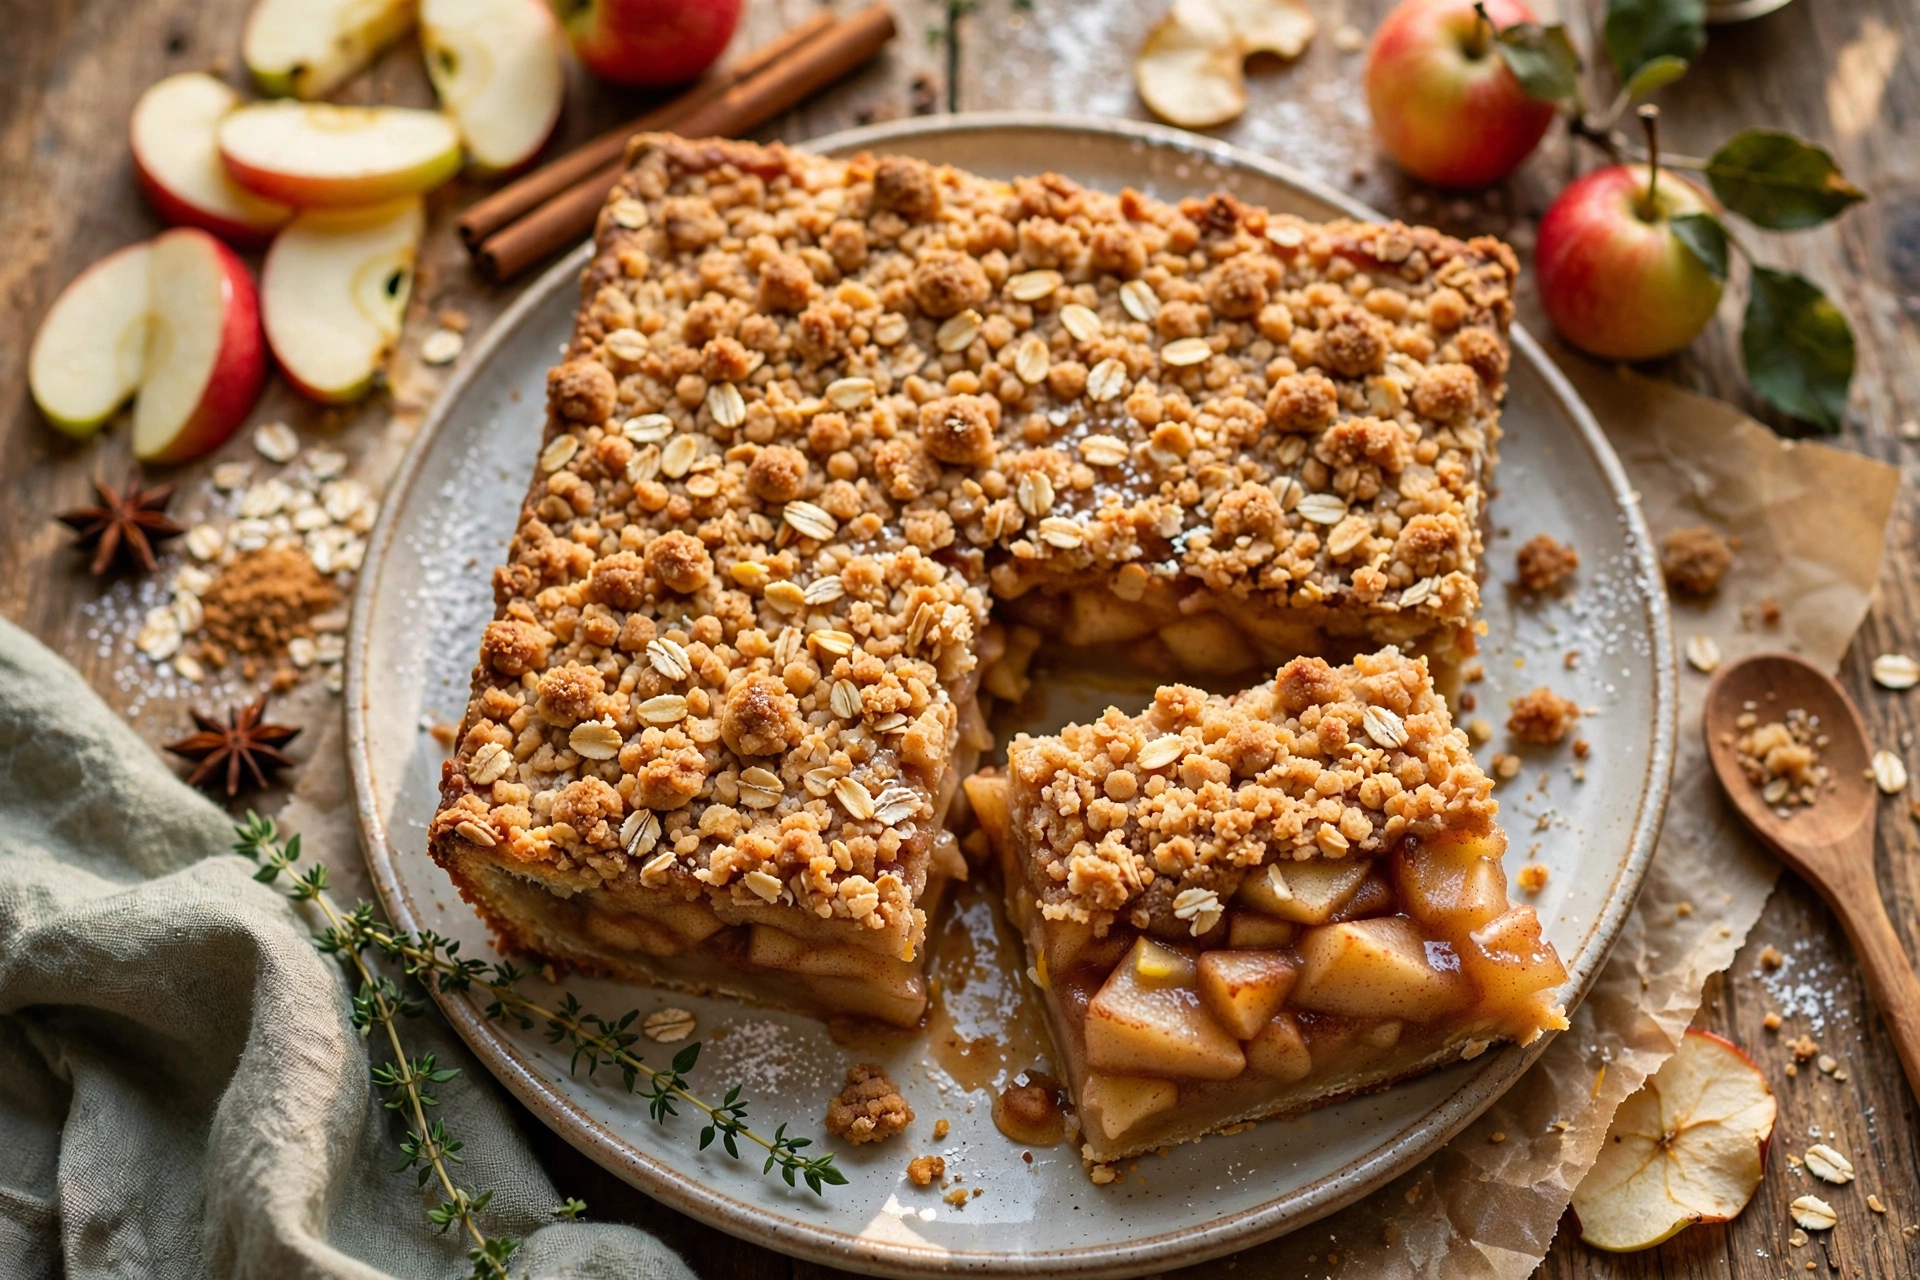
When you are ready to use a jar, simply pour the filling into a prepared pie crust, top with a lattice or full crust, and bake as you normally would, no need to add extra sugar or thickener. It also makes a fantastic topping for oatmeal, ice cream, or a quick baked apple crisp when you are short on time.
Chef's Tip: Always check that the lid has sealed (it should not flex when pressed) before storing. Any unsealed jars should go straight into the refrigerator and be used within a week.
With one afternoon of work, you will have a pantry stocked with homemade apple pie filling that tastes like fall any day of the year.