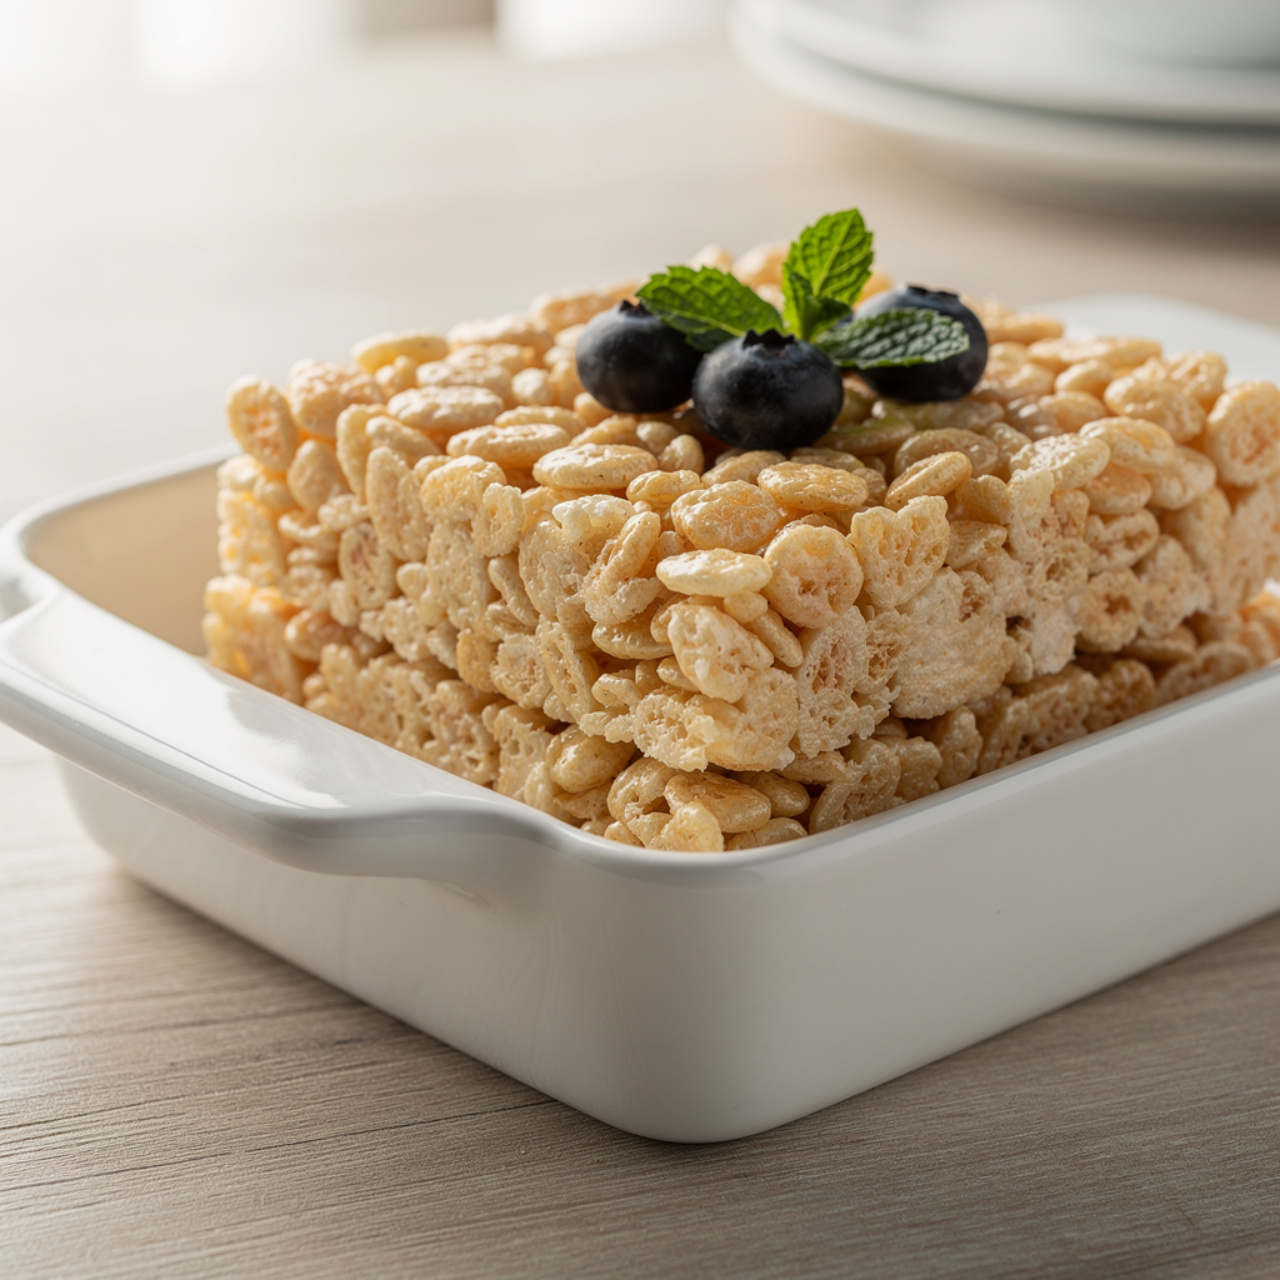
The Best Homemade Rice Krispie Treats (Soft, Gooey, and Perfect Every Time)
These homemade Rice Krispie Treats are irresistibly soft, gooey, and ready in just 15 minutes with only 4 ingredients. The ultimate marshmallow Krispie treats that beat the boxed version every single time.

The Only Rice Krispie Recipe You Will Ever Need
There is something quietly magical about a pan of homemade Rice Krispie Treats sitting on the counter. They are nostalgic in the best possible way, a dessert that does not try too hard and somehow delivers every single time. But here is the thing: the best Rice Crispy Treats homemade are not the ones you remember from the box. They are better. Softer, gooier, with a faint nuttiness from browned butter that makes you close your eyes on the first bite.
This is the Rice Krispy recipe I keep coming back to, the one friends ask for at potlucks, the one my family requests for every holiday platter. It takes about 15 minutes from start to finish and uses five ingredients you probably already have.
Getting the best results from good Rice Krispie Treats homemade comes down to technique more than anything else, but having the right equipment helps too. A heavy-bottomed pot distributes heat evenly so your butter browns without scorching, and a silicone spatula makes folding the cereal in without crushing it so much easier.
The Secret: Brown Butter and Layered Marshmallows
Most Rice Krispy recipe versions stop at melting butter in a pot and stirring in marshmallows. That works just fine, but it does not give you that wow factor. Two small upgrades change everything.
First: brown your butter. Letting the butter cook for a few extra minutes over medium-low heat until it turns golden and smells toasty adds a subtle, nutty depth that makes these taste like they came from a bakery. It takes about 3-4 minutes and is absolutely worth it.
Second: fold in extra marshmallows at the end. After you have melted the main batch of marshmallows into the butter, pull the pot off the heat and fold in one extra cup of fresh mini marshmallows along with the cereal. They stay slightly intact and create irresistible gooey pockets throughout every square.
Chef's Tip: The single most important rule for soft, chewy marshmallow Krispie treats is to press them into the pan with a light touch. Use buttered hands or the back of a buttered piece of parchment and just barely flatten the surface. Over-pressing squeezes out the air and turns them dense.
Cream Cheese Rice Krispie Treats (A Must-Try Variation)
If you have not tried cream cheese Rice Krispie Treats, you are in for a treat. Literally. After browning your butter, let it cool for just a minute, then beat in 4 oz of softened cream cheese before adding the marshmallows. The result is a slightly tangy, ultra-rich bar that tastes almost like a cheesecake version of the classic. It sounds unexpected, but it is one of those combinations that just works beautifully.
Tips for Edible Rice Krispie Treats That Look as Good as They Taste
- Use a buttered knife for clean, neat cuts every time.
- Cut them into bars instead of squares for a bakery-style look.
- Top with flaky sea salt or rainbow sprinkles right after pressing into the pan, before they set.
- Drizzle with melted chocolate for a next-level finish that makes these good Rice Krispie Treats into great ones.
Ready to make the best batch of your life? Here is everything you need laid out step by step:
The Best Homemade Rice Krispie Treats (Soft, Gooey, and Perfect Every Time)
These homemade Rice Krispie Treats are irresistibly soft, gooey, and ready in just 15 minutes with only 4 ingredients. The ultimate marshmallow Krispie treats that beat the boxed version every single time.
Ingredients
- 6 tbsp unsalted butter, plus extra for greasing the pan
- 10 cups mini marshmallows, divided, fresh bag preferred for extra gooeyness
- 6 cups Rice Krispies cereal, measured loosely, not packed
- 1 tsp vanilla extract, pure, not imitation
- 1/4 tsp fine sea salt, balances the sweetness
Instruction
Grease a 9x13-inch baking pan generously with butter and set aside.
In a large, heavy-bottomed pot or Dutch oven, melt the butter over medium-low heat. Stir occasionally and let it cook for about 3-4 minutes until it turns a light golden brown and smells nutty. Watch it carefully so it does not burn.
Reduce the heat to low and add 9 cups of the mini marshmallows to the browned butter. Stir constantly with a silicone spatula until the marshmallows are completely melted and smooth, about 3-4 minutes.
Remove the pot from heat immediately. Stir in the vanilla extract and sea salt.
Add the Rice Krispies cereal and fold gently with the spatula until just combined. Do not overmix.
Fold in the remaining 1 cup of mini marshmallows. These will stay slightly intact for extra gooey pockets throughout the treats.
Transfer the mixture to the prepared pan. Using lightly buttered hands or a buttered piece of parchment paper, gently press the mixture into an even layer. Press lightly, do not compact them too firmly or they will turn out dense.
Allow the treats to cool at room temperature for at least 30 minutes before cutting into 16 squares. Use a buttered knife for clean cuts.
Equipment
- 9x13-inch baking pan
- Large heavy-bottomed pot or Dutch oven
- Silicone spatula
- Measuring cups
- Sharp knife
Notes
Storing and Serving Your Treats
Once your Rice Crispy treats homemade have cooled and been cut, store them in an airtight container at room temperature. They will stay perfectly soft and chewy for up to 3 days, though they rarely last that long. Avoid the refrigerator entirely as the cold air pulls moisture out and leaves them stiff and crumbly.
For make-ahead convenience, you can press the mixture into the pan, cover tightly with plastic wrap, and leave them uncut at room temperature overnight. Cut fresh the next day and they taste just as good as when they were made.
Whether you are making these for a bake sale, a weeknight treat, or just because you deserve something sweet, this marshmallow Krispie treats recipe is the one to bookmark.